Walk-through: Add a Windows Azure Account
1. Navigate to the "Settings" tab
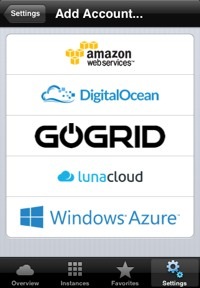
Tap on the "Add Account..." row.

2. Select provider
Tap on "Windows Azure" if you want to add an account for Windows Azure.
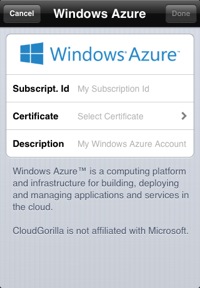
3. Enter credentials
Start with adding the required certificate to CloudGorilla.
Tap on the "Select Certificate" row.
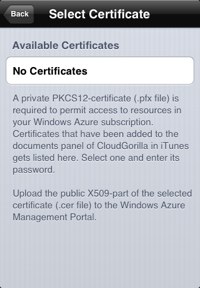
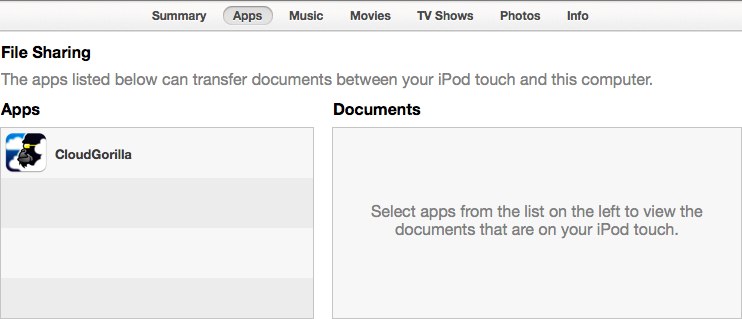
4a. Select certificate
There are no certificates yet in CloudGorilla's documents panel in iTunes.
4b. Open iTunes
Connect your mobile device to your computer, open iTunes and select your mobile device.
Navigate to the "Apps" tab, then
scroll down to the "File Sharing" section.
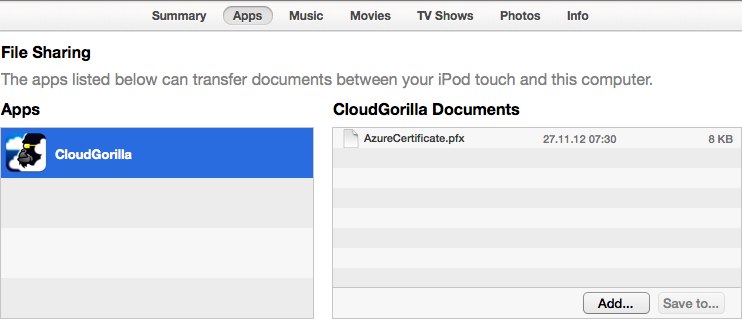
4c. Add certificate to iTunes
Select the "CloudGorilla" app in the "Apps" box to the left.
Drag & drop your *.pfx certificate file (contains your private key) into the "CloudGorilla Documents" box or add it by using the "Add..." button.
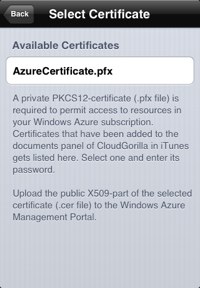
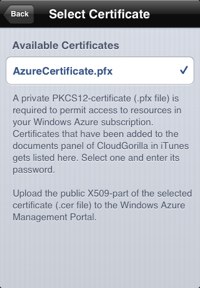
4d. Select the certificate
The certificate shows up in CloudGorilla.
Tap on it to select it.
(CloudGorilla only recognizes certificate files with a .pfx ending).
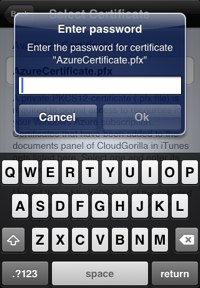
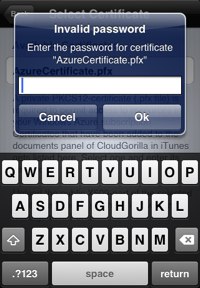
4e. Enter the certificate's password
Enter the certificate's password, then tap on the "Ok" button.
4f. ERROR: Invalid password
Oops. Wrong password.
It's a good time to take a break and eat a banana.
Make sure that you added the correct file to iTunes, then try again.
4g. Certificate & password is valid
Good!
Now upload the *.cer part (contains your public key) of the selected certificate to the Windows Azure Management Portal.
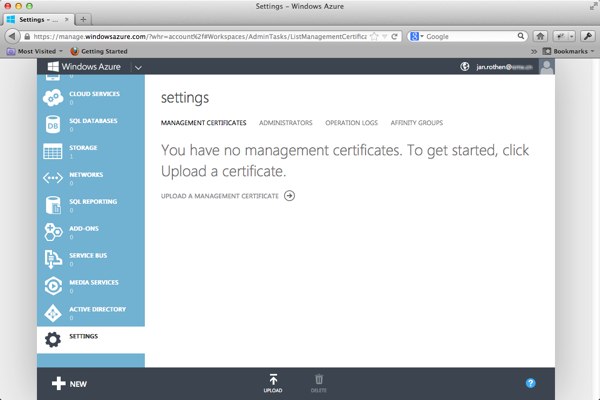
5a. Login to the Windows Azure Management Portal
> Windows Azure Management Portal
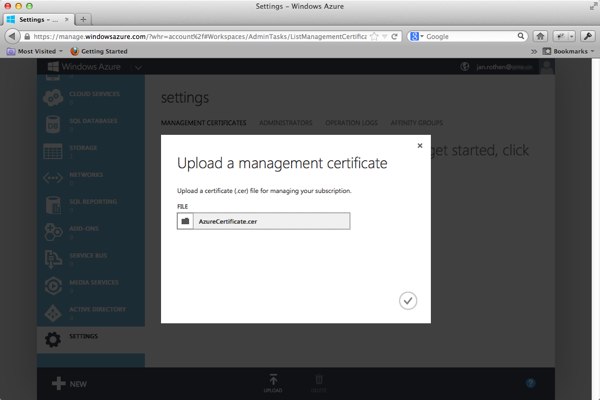
Select "Settings" and then "Upload a management certificate".
5b. Select a management certificate 1
Browse for the *.cer file.
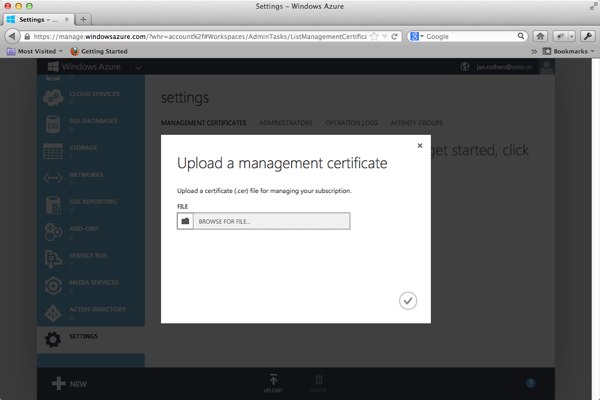
5c. Select a management certificate 2
Confirm your selection.
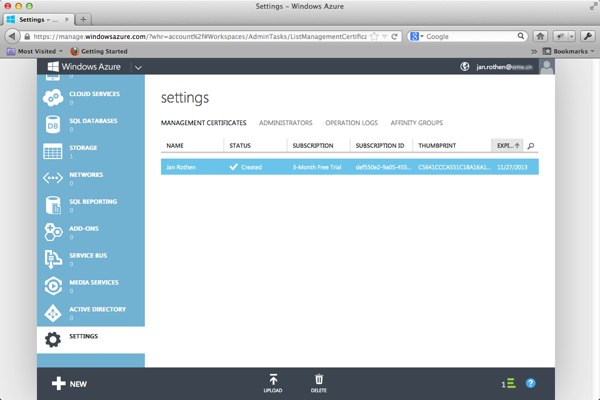
5d. Certificate uploaded
Great!
Now it's time to enter the remaining information on your mobile device.
6. Done?
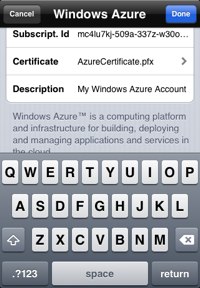
Enter your Windows Azure Subscription Id and a description for this account.
It's recommended to copy & paste the Subscription Id in
here in order to avoid typing mistakes.
The "Done" button turns blue when you've entered all required information.
Tap on it to add the account to CloudGorilla.
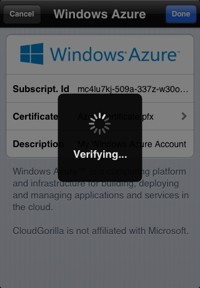
7a. Verifying credentials
CloudGorilla is now trying to connect to Windows Azure with the credentials provided.
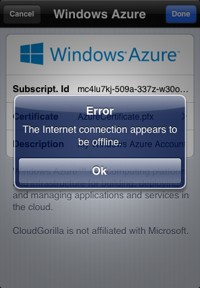
7b. ERROR: No internet connection
It's possible that CloudGorilla cannot connect to the internet.
Check your internet settings, then try again.
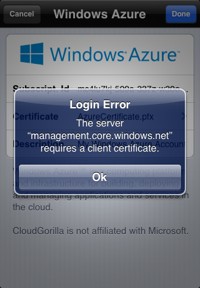
7c. ERROR: Wrong credentials
Something has been wrong with the credentials provided.
Check your Subscription Id and make sure that you uploaded the right *.cer file to the Windows Azure Management Portal, then try again.
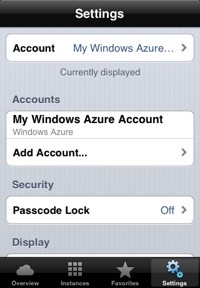
8. Account added ✓
If the provided credentials have been validated by Windows Azure, CloudGorilla displays your newly added account under "Accounts".
If this has been the first account that has been added, CloudGorilla sets it as "Currently displayed".
If not, you can select it by tapping on the top most row ("Account") and choose it from there.
Congrats, you're done! Now navigate to the "Overview" or "Instances" tab and select a Windows Azure location (cloud).
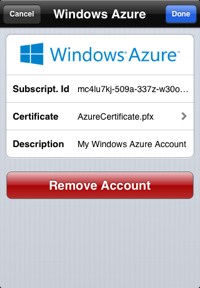
9. Modify/Remove the account
If you want to change your account's credentials and description or remove it from CloudGorilla, you can do so by tapping on the account.