Walk-through: Add a DigitalOcean Account
1. Navigate to the "Settings" tab
Tap on the "Add Account..." row.

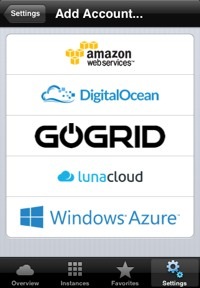
2. Select provider
Tap on "DigitalOcean" if you want to add an account for DigitalOcean.
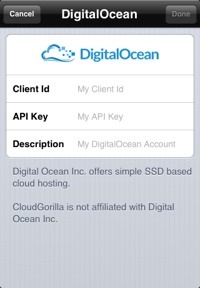
3. Enter your credentials
Enter your DigitalOcean client id and your API key.
It's recommended to copy & paste the information
here in order to avoid typing mistakes.
When you are done, also enter a description for this account.
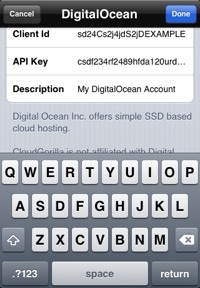
4. Done?
The "Done" button turns blue when you've entered all required information.
Tap on it to add the account to CloudGorilla.
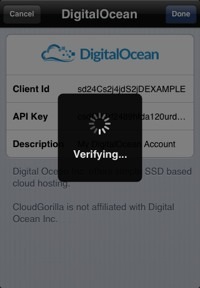
5a. Verifying credentials
CloudGorilla is now trying to connect to DigitalOcean with the credentials provided.
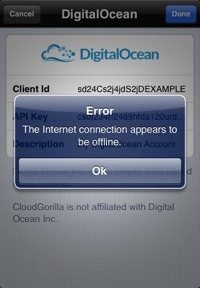
5b. ERROR: No internet connection
It's possible that CloudGorilla cannot connect to the internet.
Check your internet settings, then try again.
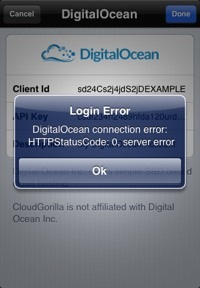
5c. ERROR: Wrong credentials
Something has been wrong with the credentials provided.
Check your DigitalOcean client id and your API key, then try again.
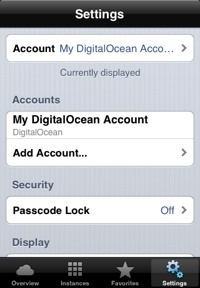
6. Account added ✓
If the provided credentials have been validated by DigitalOcean, CloudGorilla displays your newly added account under "Accounts".
If this has been the first account that has been added, CloudGorilla sets it as "Currently displayed".
If not, you can select it by tapping on the top most row ("Account") and choose it from there.
Congrats, you're done! Now navigate to the "Overview" or "Instances" tab and select a DigitalOcean datacenter (cloud).
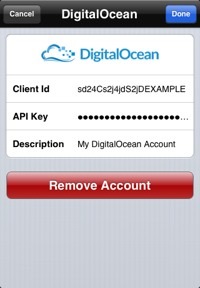
7. Modify/Remove the account
If you want to change your account's credentials and description or remove it from CloudGorilla, you can do so by tapping on the account.